How to Lay Felt on a Flat Roof?
Table of Contents
What is Roofing Felt?
Roofing felt is a durable waterproof membrane that is used in low-sloped roofs or flat roofs as an underlayment. It is also known as tar paper or bituminous felt. It is made from fibreglass or organic materials, saturated with bitumen. It provides resistance against weather and external elements and protects the structural components of the roof as well. Its key features include:
- Waterproofing
- Flexibility
- Layered Construction
- UV Resistance
What are the Types of Roofing Felt?
Roofing felt is available in many different types, each with different properties and uses. Here are the types of roofing felt:
Type 1U: It is a basic roof felt that is made of organic materials. It is used to cover sheds and temporary structures.
Type 2U: It is reinforced with fibreglass to increase its durability and can be used for garages and extensions.
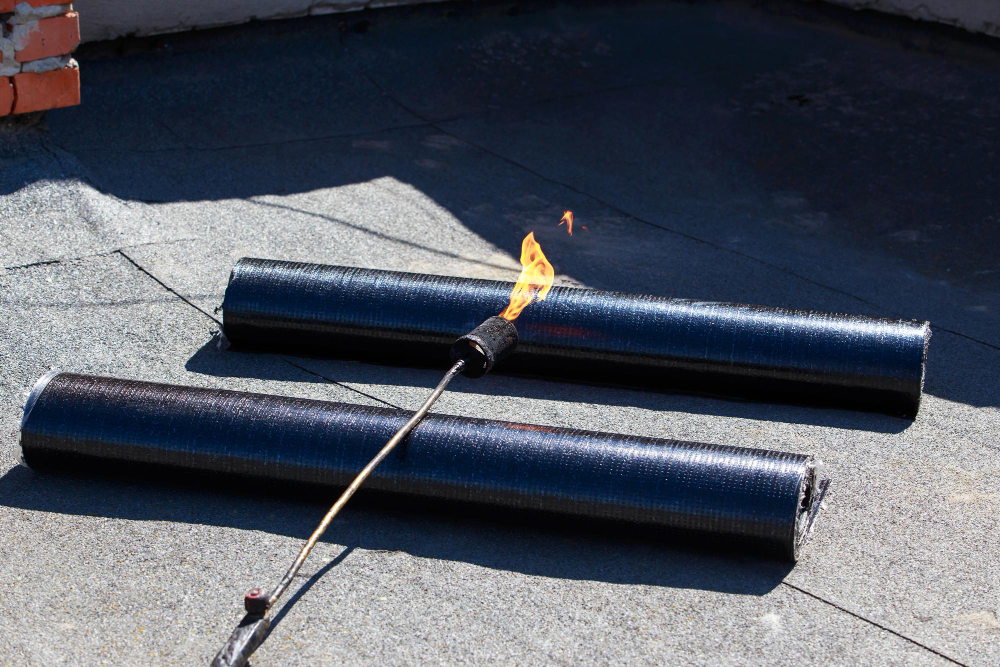
Type 3U (Torch-On): It offers enhanced waterproofing properties and is applied using fire. It is suitable for both houses and commercial buildings.
Self-Adhesive: It offers easy installation due to peel-and-stick backing. It is suitable for small roofs and DIY projects.
How to Install Roofing Felt on a Flat Roof?
Felt offers an extremely easy method of installation, regardless of its type. Let’s discuss the installation procedure in detail.
Required Tools and Materials
Below is a generic list of the materials and the tools that you will need while installing felt on a flat roof:
- Roofing felt
- Bitumen adhesive
- Roofing nails/starter nails
- Stanley knife
- Chalk line
- Roofing torch (for torch-on felt)
- Broom or stiff brush
- Safety gear
Step 1: Surface Cleaning and Preparation
It is important to prep the roof surface properly to ensure a proper bond between the roof and the felt. Start by removing any debris or old felt from the roof and thoroughly checking the roof deck for any damages. Carry out any necessary structural repairs or replace the parts if they are extensively damaged.
Step 2: Install the Drip Edge
Drip-edge will not only catch the water runoff but also prevent the moisture from damaging the structure. If you already have a drip edge installed on your roof, you must check whether it requires any cleaning or repairs. Otherwise, install a drip edge along the perimeter of your roof to direct water runoff.
Step 3: Lay the Base Layer
After completing the preparation, start rolling out the base layer, also known as the underlayment, on the roof. While laying the base layer, make sure that the sides overlap with each other at least 100-150mm to ensure proper waterproofing. You can use starter nails or adhesive to temporarily secure the base layer.
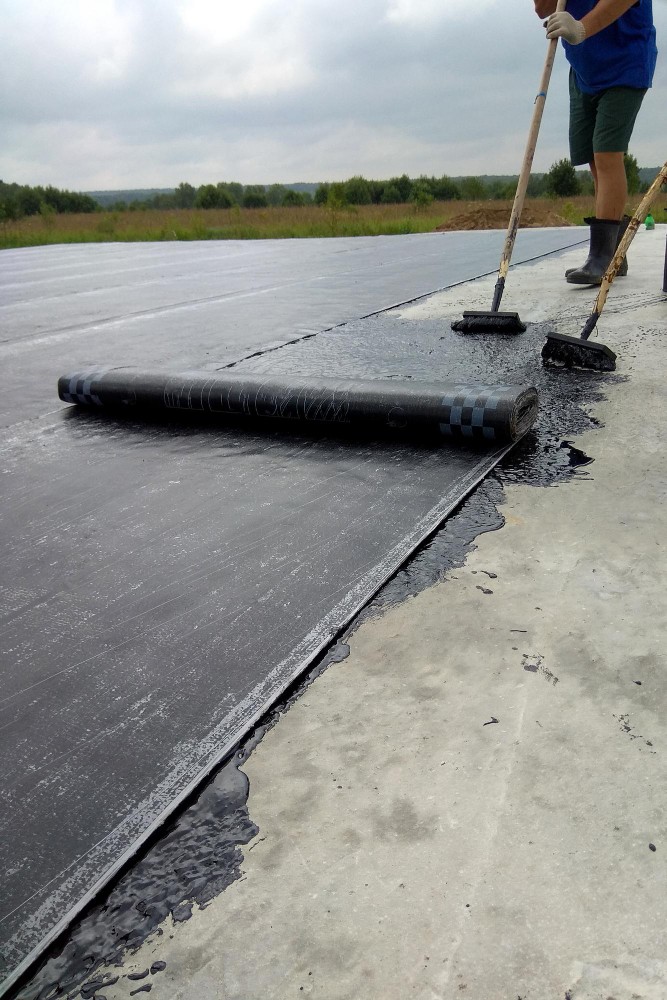
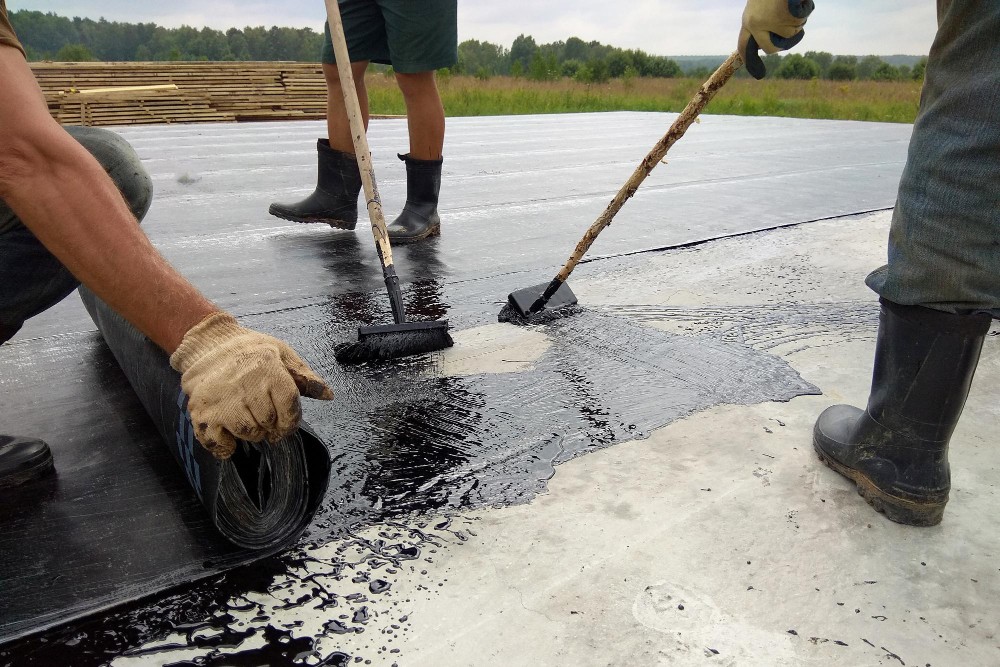
Step 4: Apply the Adhesive
There are two types of adhesives that can be used for felt roofing. If you are using cold adhesive, spread it on the roof thoroughly using a trowel. Make sure to create an even layer of the adhesive. In the case of torch-on felt, carefully heat the material with the help of a roofing torch and press it firmly into place, smoothing out any air bubbles.
Step 5: Install the Top Layer
Once the adhesive is properly applied, begin with the top layer of felt. Make sure to stagger the seams of the top layer so that they are not aligned with the base layer. Overlap the edges at least 75-100mm to create a watertight seal. Once the layer is installed, secure the joints using adhesive or heat in case of torch-on felt.
Step 6: Finish Edges & Flashings
Once the installation is complete, trim the access edges and seal around vents, chimneys, or other penetrations using bitumen flashing tape. If you are using cold adhesive, weigh down the seams temporarily with sandbags to ensure proper bonding.
Step 7: Final Inspection
Finally, inspect the roofing felt for any loose sections or wrinkles. Apply the adhesive on any loose sections and remove any wrinkles before they are set. Regularly clean your roof of debris and other free materials to extend its lifespan.
Flat Roof Felt Maintenance Tips
Below are a few maintenance tips that can help you extend the lifespan of your felt roofing:
- Check your roof twice yearly (spring/autumn) and after storms for cracks, blisters, or water pooling.
- Gently clear leaves and branches using soft brushes to prevent drainage blockages and surface damage.
- Seal small cracks immediately with bitumen tape and re-adhere loose edges using cold-applied bitumen.
- Maintain a minimum slope of 1:80 and clear outlets to prevent problematic water ponding.
- Limit roof access, use protective boards when necessary, and avoid dragging heavy equipment.
- Refresh with UV-resistant bitumen coating every 5-8 years to combat weather damage.
- Trim nearby branches regularly to minimise debris accumulation and surface scratches.
- Inspect and reseal around penetrations (vents, chimneys) as needed to preserve watertight seals.
Wrapping Up!
Felt is a popular roofing material that is suitable for flat and low-pitched roofs. It offers durability and extreme waterproofing qualities. Although it is very easy to install, we advise you to hire professional roofers to ensure proper installation of felt. You can contact Positive Roofing if you want to install felt on your flat roof.