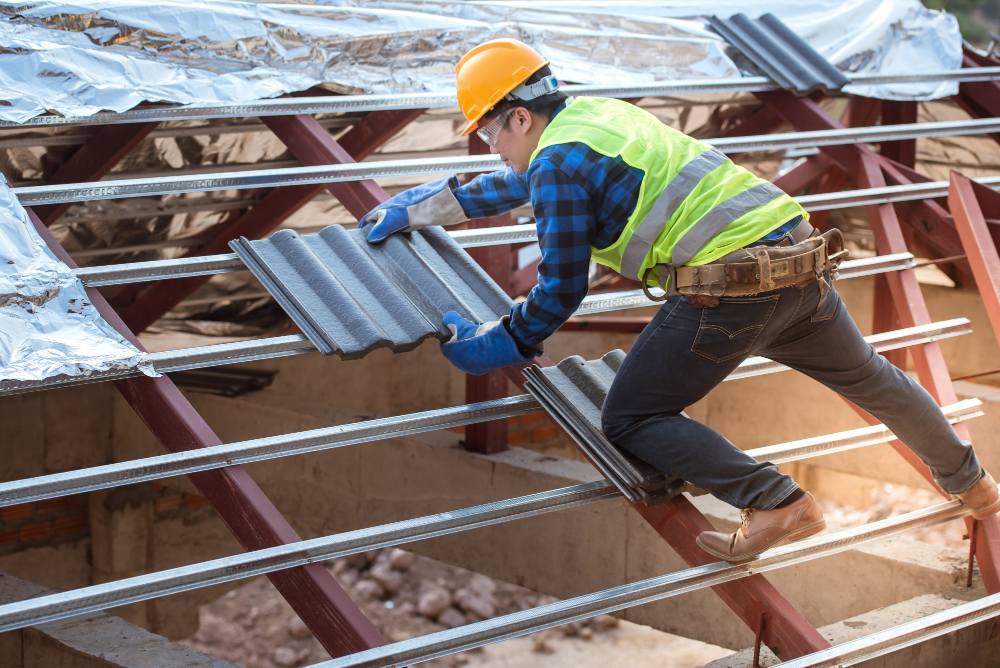
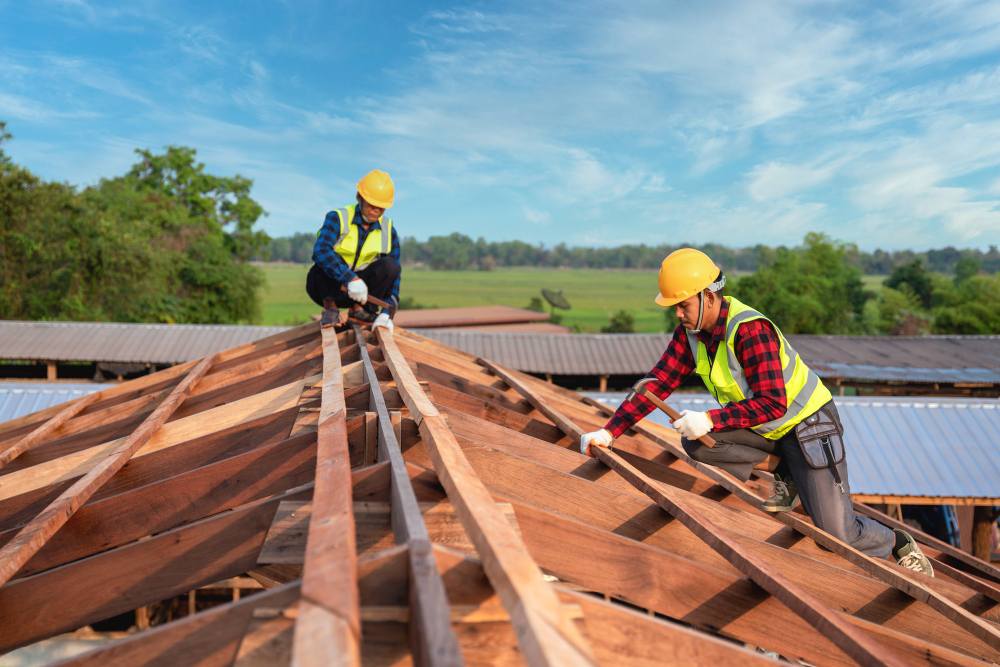
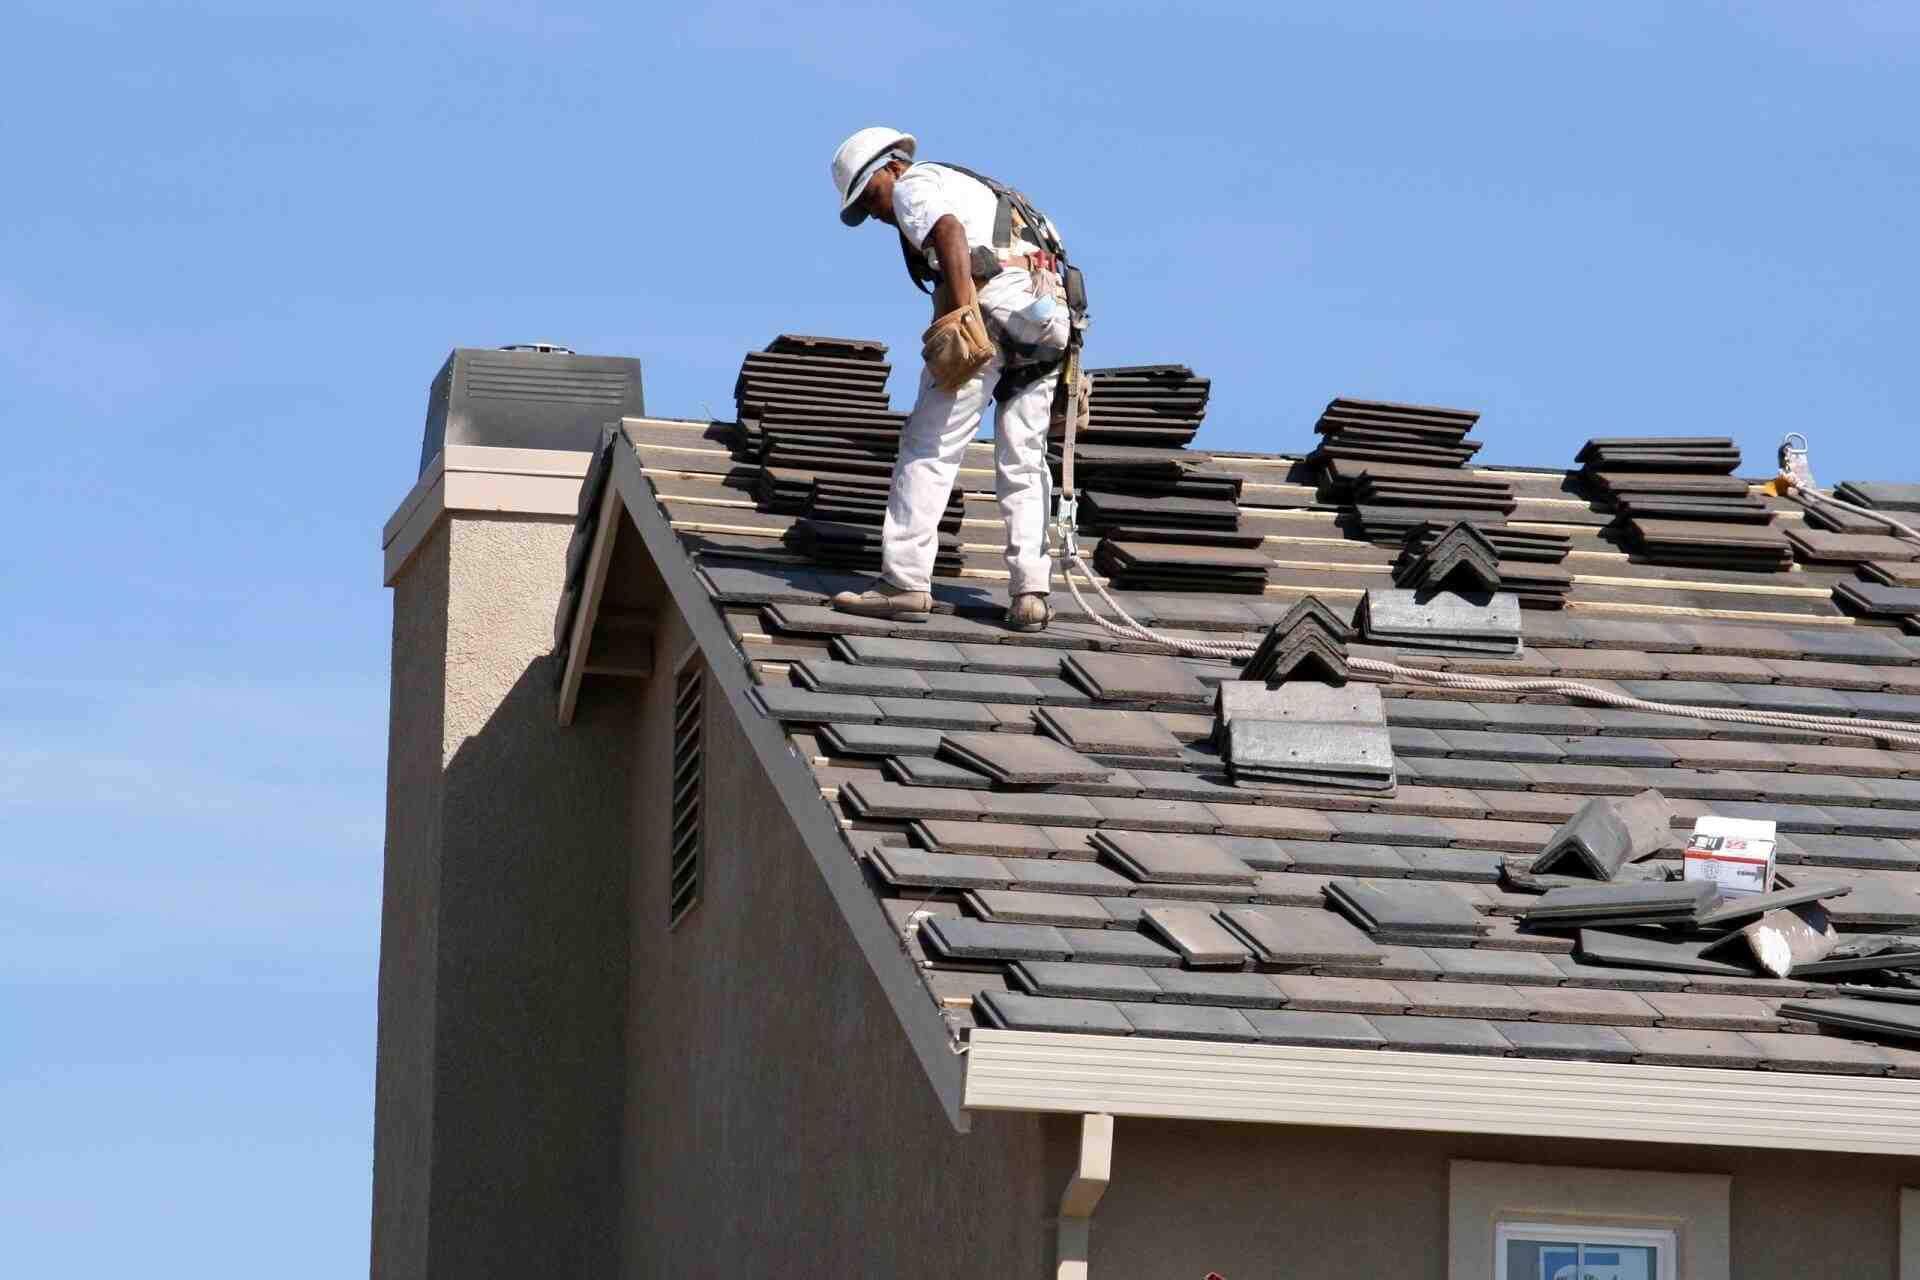
How to Build a Flat Roof
Table of Contents
Flat roofs are a staple of modern architecture and industrial construction. While they might appear straightforward at first glance, there is a lot more engineering behind the scenes. Unlike conventional pitched roofs, flat roofing systems count on a fine balance of layers, drainage, and design to function effectively and last for a very long time. This informative guide walks you through the procedure of building a flat roof—from core components to professional construction techniques.
Why Select a Flat Roof?
Flat roofs are not just a contemporary design option—they are functional. They provide accessible space, whether for rooftop gardens, HVAC units, or solar panels. They also make upkeep more manageable and can give a house or commercial building a sleek, clean profile. Nevertheless, because they don’t shed water as easily as sloped roofs, they demand meticulous construction.
The Structure of a Flat Roof
Even though they are called “flat,” these roofs are never completely level. They incorporate a subtle incline, generally between 1/4 inch and 1/2 inch per foot, to facilitate water runoff.
Flat roofs are frequently seen on:
- Contemporary Houses
- Garages
- Commercial buildings
- Extensions and porches
Now, let’s analyse the necessary layers and components that make a flat roof operational and durable.
Core Components of a Flat Roof System
Each flat roofing system has numerous vital layers, each crucial for durability and water resistance.
1. Structural Deck
This is the foundational surface, usually created from plywood or OSB (oriented strand board). It serves as the base for all subsequent layers and should be strong enough to support the total load, both static (dead load) and dynamic (live load, like snow or foot traffic).
2. Insulation Layer
Thermal insulation is a crucial layer that retains internal building temperatures and enhances energy efficiency. Common insulation materials include the following:
- Polyisocyanurate (Polyiso)
- Expanded Polystyrene (EPS)
- Extruded Polystyrene (XPS)
These materials aid in avoiding thermal bridging and decreasing the risk of condensation.
3. Waterproofing Membrane
The membrane is the roof’s major defence against water infiltration. It sits above the insulation and beneath the surface and must be cautiously installed to prevent leaks.
4. Drainage System
Flat roofs must be designed to move water effectively. Drainage options include the following:
- Scuppers (outlets in the parapet walls)
- Interior drains (connected to internal pipes)
- Gutters (along the lower edges of the slope)
An effective drainage system avoids pooling, which is one of the primary causes of flat roof failure.
5. Flashing
Flashing safeguards the weak points of a flat roof, such as joints, seams, and transitions, by directing water away from susceptible areas. Metal flashing is routinely used, specifically around the following:
- Roof Edges
- Vents
- Chimneys
Slope and Drainage: What You Must Know
Although they might appear flat, all properly constructed flat roofs have a slight pitch. The minimum slope suggested is 1/4 inch per foot, though bigger roofs may need a 1/2 inch per foot gradient to guarantee adequate water runoff. Always direct water toward your selected drainage points.
Drainage Components Explained
- Gutters: Positioned at the roof’s lower side to carry water away.
- Interior Drains: Hidden and connected to interior systems—perfect for big roofs.
- Scuppers: Found in parapet walls and beneficial in combination with downspouts.
Step-by-Step Process: Building a Flat Roof
Now that you comprehend the layers and layout, here is a step-by-step construction procedure to build your flat roof effectively.
Step 1: Frame the Roof
Begin with the framework. Ensure your framing allows for the needed slope. The slope may be directed toward scuppers or other drainage points, depending on the roof’s shape. In certain circumstances, the slope resembles a flattened hip roof, designed to channel water from various directions.
Step 2: Install the Sheathing
Lay down plywood or OSB panels over the frame. Utilise 5/8 inch thick sheets, and make sure to leave a 1/8 inch gap between them to enable expansion and contraction due to temperature variations.
Step 3: Apply the Underlayment and Iso Board
The underlayment acts as an added water barrier. Once it is secured, add the iso board—a rigid foam insulation (generally 1/2 inch thick) with a fibreglass backing. The Iso board is straightforward to cut and offers a seamless, protective base for the waterproof membrane. Place the panels firmly, stagger the seams, and screw them in utilisng galvanised steel washers.
To prevent pooling at inner corners (where the roof meets the parapet), install beveled strips utilising 2x4s ripped at a 45-degree angle. This crafts a gentle transition that water can flow over seamlessly.
Step 4: Dry-Fit the Roofing Membrane
Prior to glueing anything, clean the surface exhaustively. Debris may puncture the membrane. If using EPDM (ethylene propylene diene monomer) rubber, cut it with shears or a utility knife. Lay the sheet across the roof, leaving about 9 inches of excess around the perimeter. On tiny roofs, one piece might be sufficient; for bigger roofs, overlap by 6 inches but hold off on gluing seams just yet.
For vent stacks, trim a hole in the membrane just slightly bigger than the pipe, then slide it over.
Step 5: Secure the Waterproofing Membrane
Start adhering the EPDM membrane to the insulation layer. Smooth it down section by section, using a dry roller to remove air pockets. Cautiously glue the edges up the parapet walls and down the front edge by no less than 6 inches.
Where seams are required, clean the area with solvent, apply rubber adhesive, and cover with a 12-inch strip of uncured rubber. This type of rubber can stretch and mould into place without snapping back, guaranteeing a sturdy seal.
Step 6: Finalise the Edges
At vertical corners, overlap and glue down the EPDM tightly. Strengthen these areas with uncured rubber for additional protection. Utilise termination bars (metal strips) to keep the membrane from peeling off vertical surfaces. Run a bead of tri-polymer caulk along the top of the termination bar for a watertight finish.
Finish the roof’s edges utilising galvanised or lead-coated flashing. This is usually referred to as a gravel stop and comes in multiple finishes. Nail the flashing in place, then cover the upper edge with another strip of uncured rubber for additional protection.
Common Flat Roof Material Options
When choosing a flat roof, it is necessary to consider different material’s strengths and possible drawbacks. Here is a breakdown of the most commonly used options:
Hot Tar and Gravel
Usually selected for industrial buildings, hot tar and gravel roofs are built to last. They are celebrated for their durability and minimum maintenance requirements. Nevertheless, their installation can be expensive because of the large volumes of tar and gravel needed.
Modified Bitumen
Modified bitumen roofs are more cost-effective alternative to hot tar systems. They provide dependable performance, but they do demand regular maintenance to stay in perfect condition with the passage of time.
Asphalt Shingles
Asphalt shingles are one of the most budget-friendly options available. They are straightforward to install and maintain, though their service life is usually shorter than that of other flat roofing materials, particularly in flat or low-slope settings.
Metal Roofing
Constructed from metal panels, this roofing type mimics the appearance of conventional slate or tile. It is a favourite option for its remarkable strength, fire resistance, and sleek, contemporary appearance, making it a durable option for both domestic and commercial use.
Fibreglass
Lightweight and effortless to handle, fibreglass roofing is gaining attention for its simple application and minimum maintenance requirements. It is a convenient option for individuals seeking an effective and economical solution, specifically since it does not need ventilation openings.
Rubber Membrane (EPDM)
Created from synthetic rubber, EPDM membranes are swift to install and straightforward to repair. They are an affordable option and work efficiently in most flat roof applications, though they can be vulnerable to damage from severe atmospheric conditions.
Major Considerations Before You Build
Building a flat roof takes more than materials and manpower. Here is what else you require to take into account:
- Load-Bearing Capability: Guarantee your deck can manage both the dead load and any expected live loads, such as snow or foot traffic.
- Weather Conditions: In chilly climates, a steeper slope might be required. In hot regions, reflective membranes can aid in controlling heat.
- Building Regulations: Always comply with local building codes for slope, insulation, and material standards.
- Ventilation: Sufficient airflow avoids condensation, mould, and rot inside the roof layers.
Retaining and Extending the Life of Your Flat Roof
Flat roofs last longer with adequate care. Conduct biannual inspections—in spring and fall—to identify problems such as:
- Pooling water
- Surface blisters
- Seam lifting or separation
- Blocked drains
Swiftly fixing small problems can avoid substantial damage and extend the roof’s service life considerably.
To Sum Up!
Constructing a flat roof requires accuracy, proper layering, and a deep understanding of drainage and materials. When done right, it not only safeguards your building but also improves its usability and style. Whether you are working on a home, extension, or commercial property, this comprehensive and informative guide equips you with the essentials.
For professionally built flat roofs that stand the test of time, rely on the seasoned crew at Positive Roofing—your partners in quality roofing solutions.